
Autoresponder
Autoresponders let you automatically send a follow-up email to the person who submitted your form: a thank you message, confirmation, download link, or anything else you’d like them to receive right away.
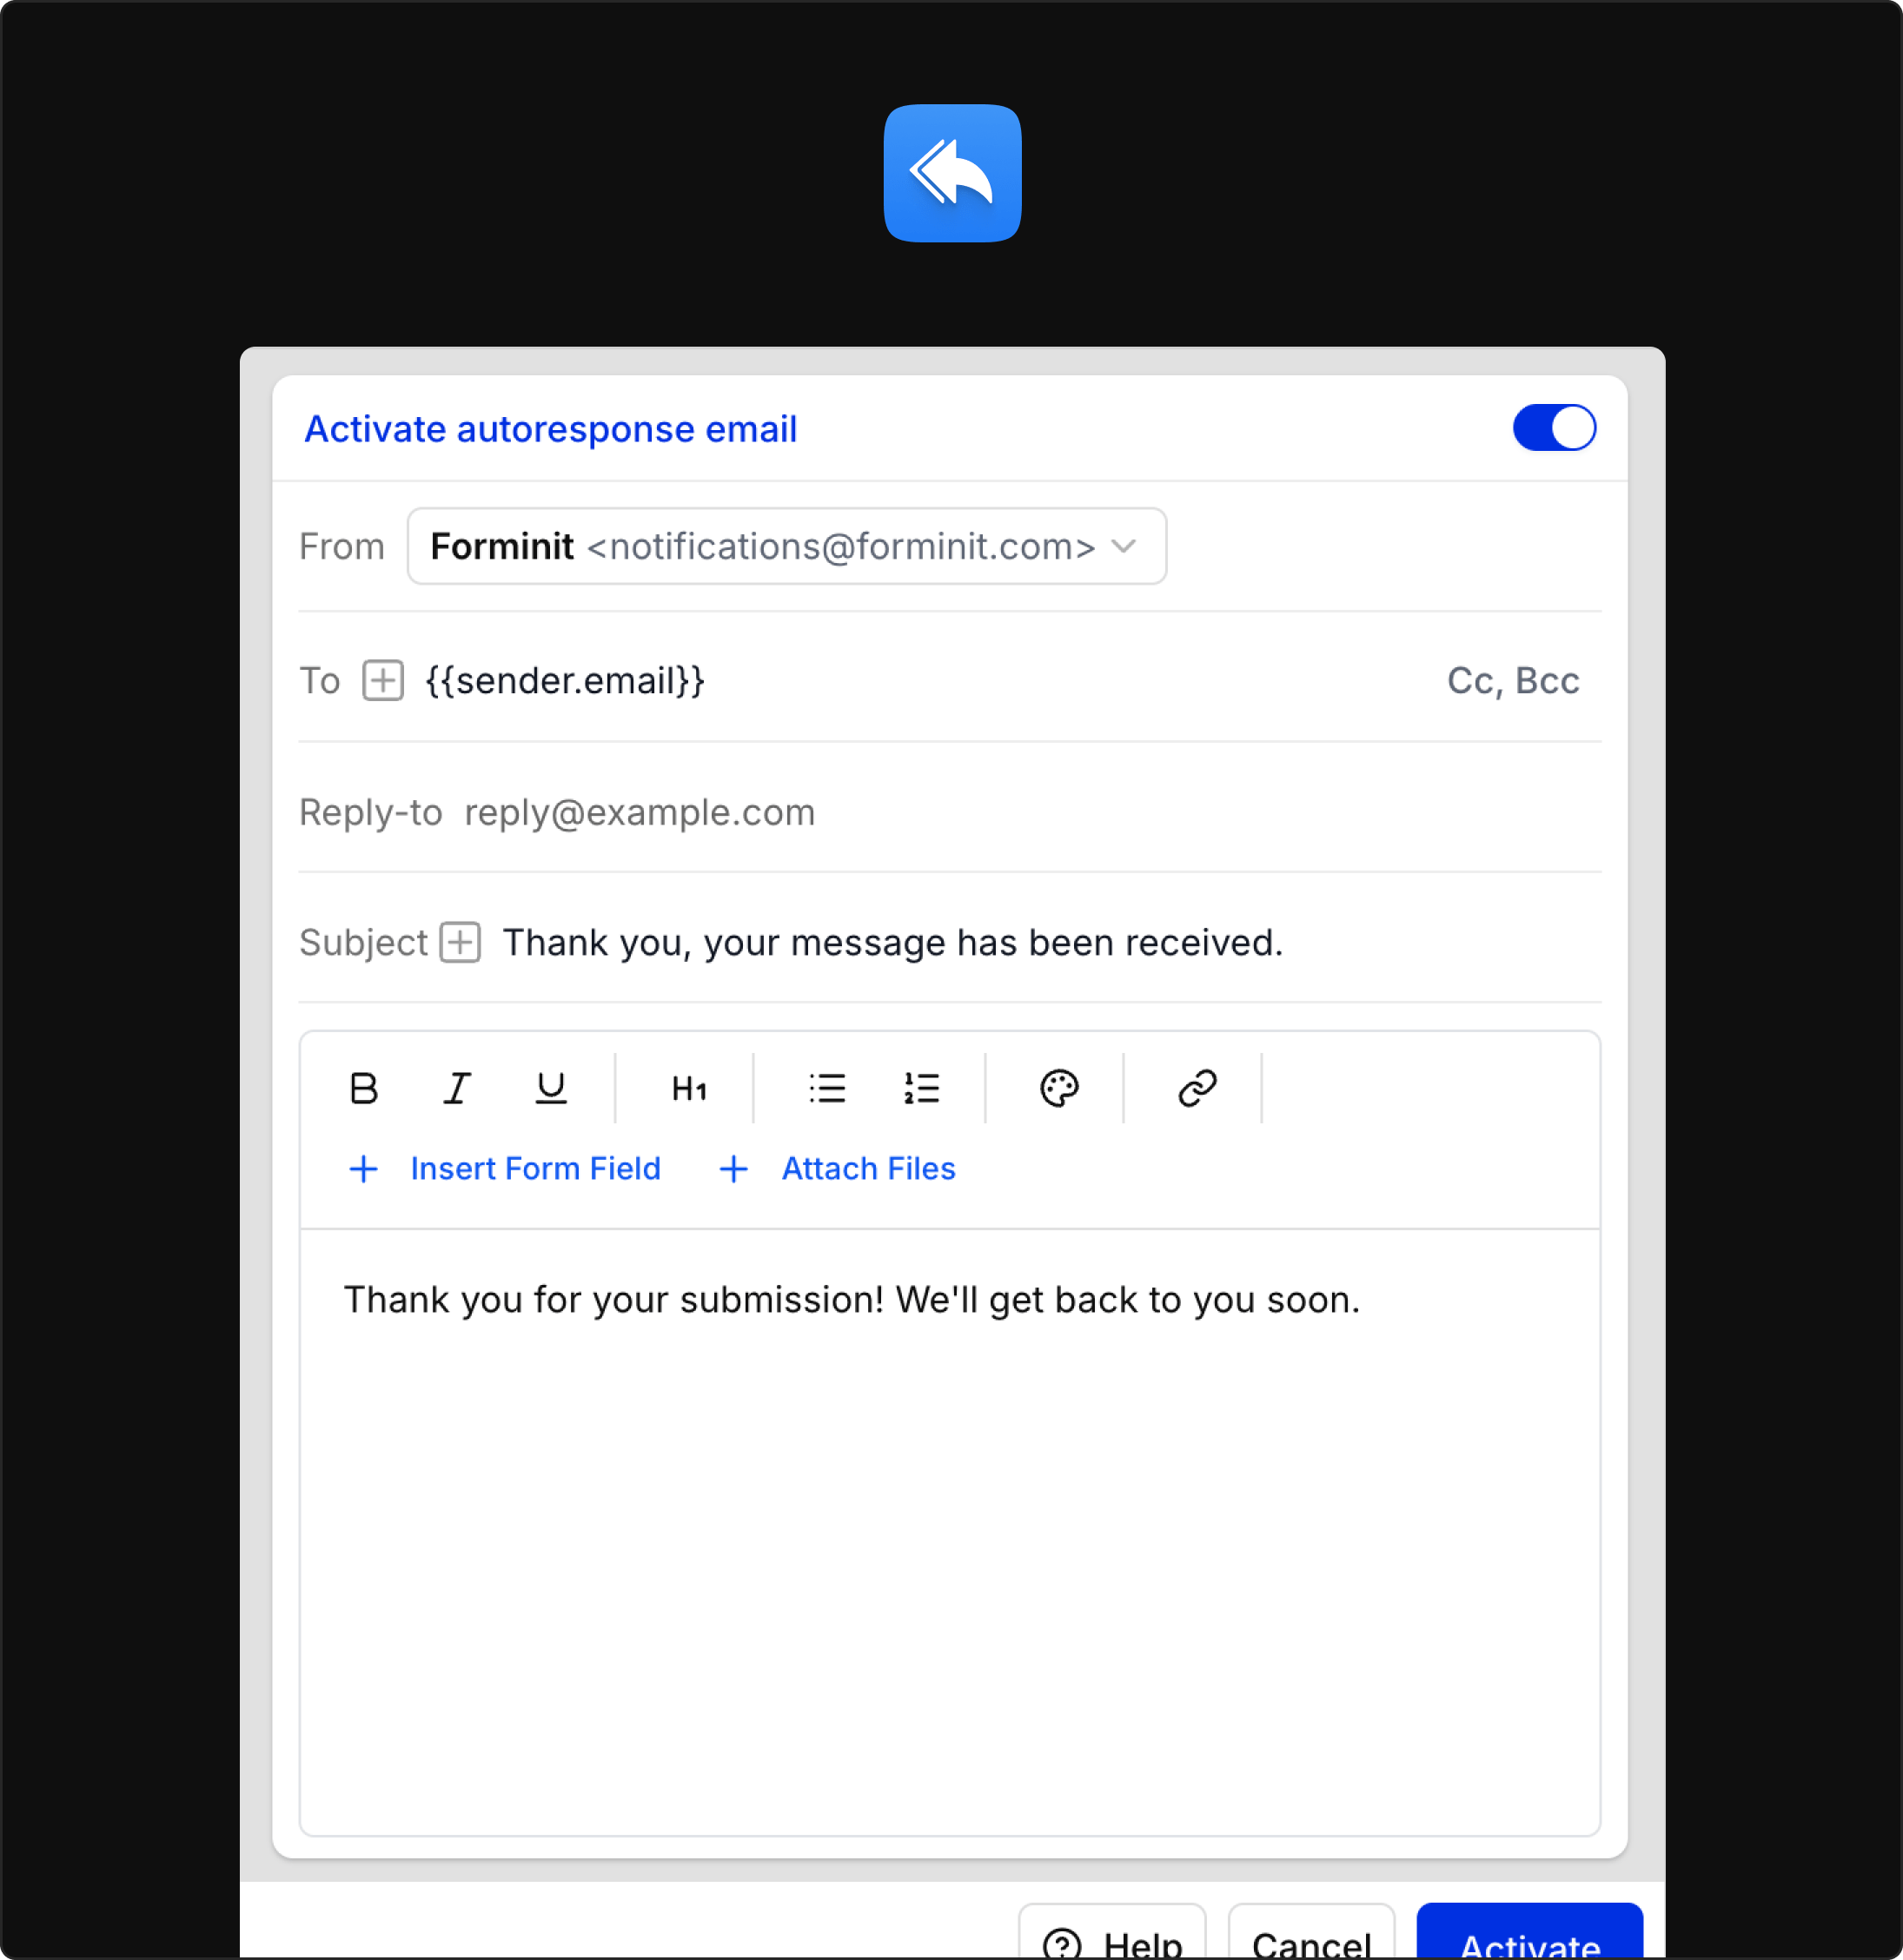
How autoresponders work
Section titled “How autoresponders work”- Autoresponders are a step in your form’s Workflow. When a new submission is received and passes validation, the Send autoresponder email step in the published workflow runs.
- The To address is taken from a form field and must be an email-type form block variable (for example
{{sender.email}}or{{your-email-address}}). - You can customize the sender, reply-to, subject, email body, and optional attachments.
- Autoresponders are configured per form, so each form can send a different style of confirmation.
Configuring an autoresponder
Section titled “Configuring an autoresponder”- Open the form in your Forminit dashboard.
- Select Workflow in the form header.
- Select + where the step should run (for example beneath Submission received so every submitter gets a reply), then choose Send autoresponder email.
- Select the step to open its settings.
- Configure the fields below, then select Publish to make your changes live.
Sender email address of the autoresponder emails
- By default, autoresponder emails are sent from
notifications@forminit.com. - To send from your own domain (e.g.
hello@yourdomain.com), connect SMTP under Account → SMTP. - Once SMTP is configured, you can pick your custom sender address from the From field in the Send autoresponder email step.
This keeps your confirmation emails fully on-brand and helps with deliverability.
Recipient of the autoresponder. Must be an email-type form variable.
- The To field only accepts form variables that resolve to an email block in your form.
- Typical examples:
{{sender.email}}using thesenderblock’s email property{{your-email-address}}using a standaloneemailblock calledyour-email-address
- At send time, Forminit reads the value from that field in the submission and sends the autoresponse to that address.
This ensures autoresponder emails always go to the actual submitter and not a hard-coded inbox.
Reply-to
Section titled “Reply-to”Set the address that replies should go to.
- Controls where replies to the autoresponder email are sent.
- Best practice is to put your or your team’s inbox here, not the submitter:
Reply-to = support@yourdomain.comReply-to = hello@yourdomain.com
When the submitter clicks Reply in their email client, their message goes directly to you or your team.
Subject
Section titled “Subject”Email subject line. Supports form variables.
- You can mix static text with:
- Form block variables (e.g.
{{sender.fullName}}) - Form constants (e.g.
{{@form_name}},{{@submission_id}})
- Form block variables (e.g.
- Example subjects:
Thanks for contacting {{@form_name}}We received your request (ID: {{@submission_id}})Your booking request for {{@form_name}}
Tip: Include {{@submission_id}} (or another unique value) to keep each autoresponse in its own thread instead of being grouped together.
Email body (Editor)
Section titled “Email body (Editor)”The autoresponder email body is edited using a WYSIWYG editor.
You can:
- Write a custom message with headings, text, lists, and links.
- Insert form block variables (e.g.
{{sender.fullName}},{{text.message}}) to personalize the content. - Insert form constants such as:
{{@form_name}}form name{{@date}}submission date{{@submission_id}}unique submission ID{{@referer}}referrer URL the form was submitted from{{@location}}sender location asCity / Country(e.g.London / United Kingdom)
Typical use cases:
- Welcome or thank-you messages
- “We received your request” confirmations with a summary of key information
- Short instructions on next steps (booking, support, shipping, onboarding, etc.)
Attachments
Section titled “Attachments”Attach files you wish to send to the form submitter. Maximum total file size: 25 MB.
You can attach one or more files that will be included with every autoresponder email.
Common use cases:
- Booking / event flows: attach a calendar invite (
.ics) so the submitter can add the event to their calendar. - Lead magnets / downloads: send a PDF guide, whitepaper, or e-book after a content download form.
- Onboarding: include a “Getting started” PDF, checklist, or product manual.
- Offers: send a coupon, voucher, or proposal document.
If the total attachment size exceeds 25 MB, the email may fail to send with those files, so keep attachments small enough for reliable delivery.
Best practices
Section titled “Best practices”- Always use a form email field for “To”. Use
{{sender.email}}or another email block variable so the autoresponse always goes to the correct person. - Set Reply-to to your team inbox. For example,
support@yourdomain.com, so when submitters reply, it reaches a real human. - Keep it short and clear. Confirm what they submitted, what happens next, and how to contact you.
- Use attachments thoughtfully. Add real value (calendar invite, PDF guide, onboarding material) while staying under the 25 MB limit.
Was this page helpful?
Thanks for your feedback.